Growing your own food is one of the most rewarding things you can do, but I know it can feel like a lot.
If you are anything like me, after a few years of gardening, you have gained confidence in growing a garden from nursery plants, but now you want to explore the world of unique, heirloom varieties that you can only find in a seed catalog.
The next step is seed starting for beginners.

Have you ever stared at a packet of seeds, wondering how something that looks like a grain of sand turns into a 5-pound heirloom tomato?
I’ve been playing in the dirt for over 20 years, and if there’s one thing I’ve learned, it’s that nature wants to grow. You’re just there to provide the right environment.
My Nonno didn’t have fancy grow lights or heated seed mats. He had a sunny windowsill, a collection of saved plastic containers, and a lot of patience. He taught me that gardening isn’t about gadgets; it’s about understanding the system.
I spent years overcomplicating things until I realized that “reducing the overwhelm” in the garden is just like in the kitchen: you prep your station, follow the plan, and don’t overthink the timing.

Seed Starting For Beginners: Inside vs. Outside?
Not every seed needs a head start on your windowsill. In fact, some plants are “homebodies”, they hate having their roots disturbed and will actually grow faster and stronger if you sow them exactly where they are meant to stay.
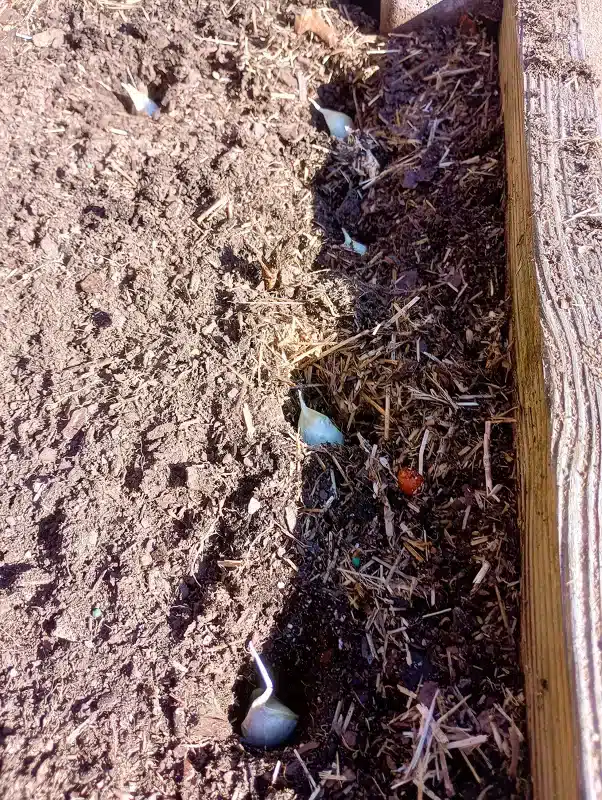
While we start tender summer crops inside, remember that some of your kitchen staples, like the softneck garlic varieties I discuss in How to Grow Garlic, actually need the winter chill to develop.
Sowing Outdoors (Direct Sow)
These plants are rugged, but they have sensitive root systems. They prefer to “wake up” in the cool, damp soil of your actual garden beds.
- Root Vegetables: Carrots, radishes, and beets. If you try to move these, the main taproot often gets bent or stunted, resulting in twisted, woody vegetables.
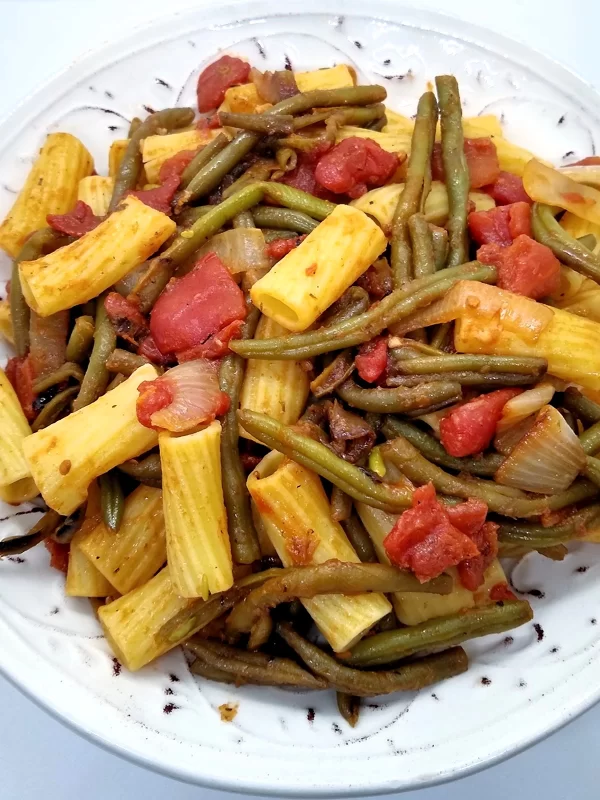
- Legumes: Beans and peas. These grow so aggressively once the soil warms up that starting them inside usually isn’t worth the shelf space.
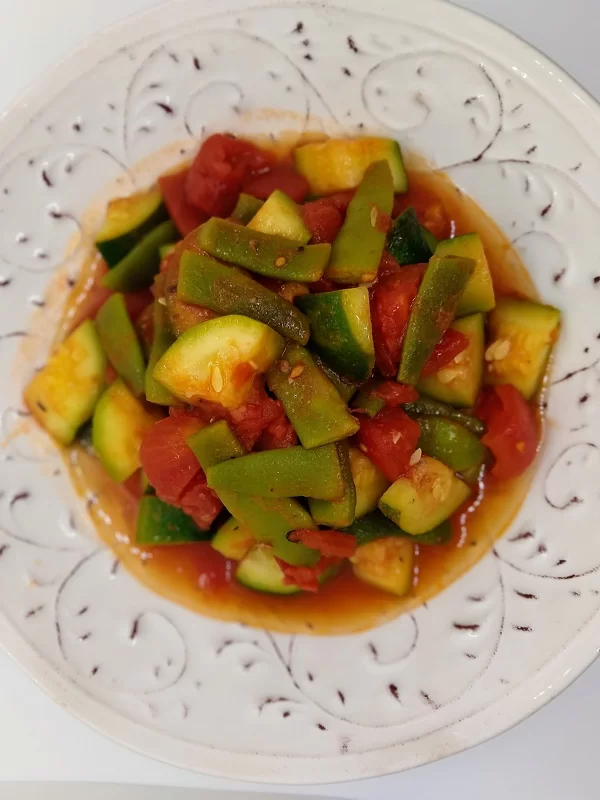
- The “Big Leaf” Crops: Squash, zucchini, and cucumbers. While you can start these inside, they are notorious for “transplant shock.” They catch up to indoor-started plants within days of being sown in the ground.

Starting Indoors (The Head Start)
These are your “tender” crops. They either need a long, warm season to produce fruit or they are small enough that the early spring elements would overwhelm them.
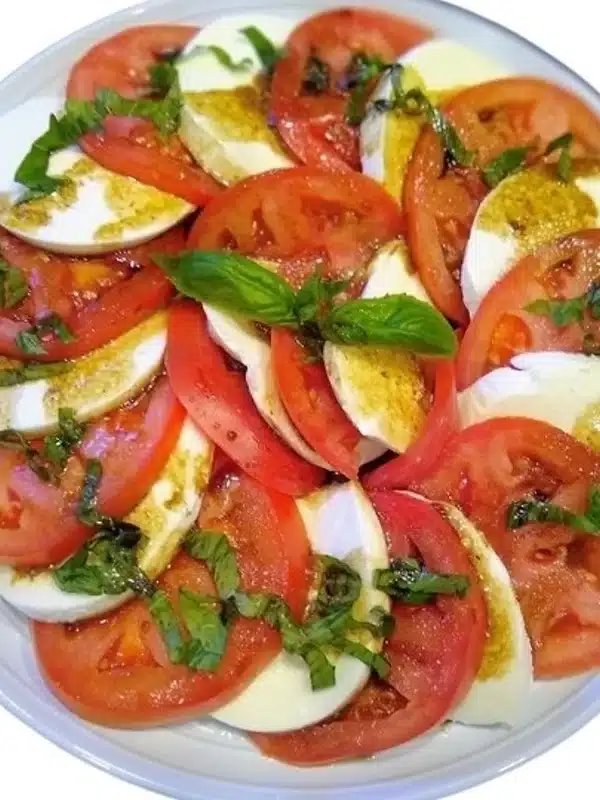
- The Summer Staples: Tomatoes, peppers, and eggplants. These are warm at heart. Starting them indoors 6–8 weeks before the last frost gives them the “adulthood” they need to hit the ground running when the heat arrives.
- Culinary Herbs: Basil, oregano, and parsley. These seeds are tiny and slow-growing. Starting them in a controlled environment ensures they don’t get washed away by a spring rainstorm.
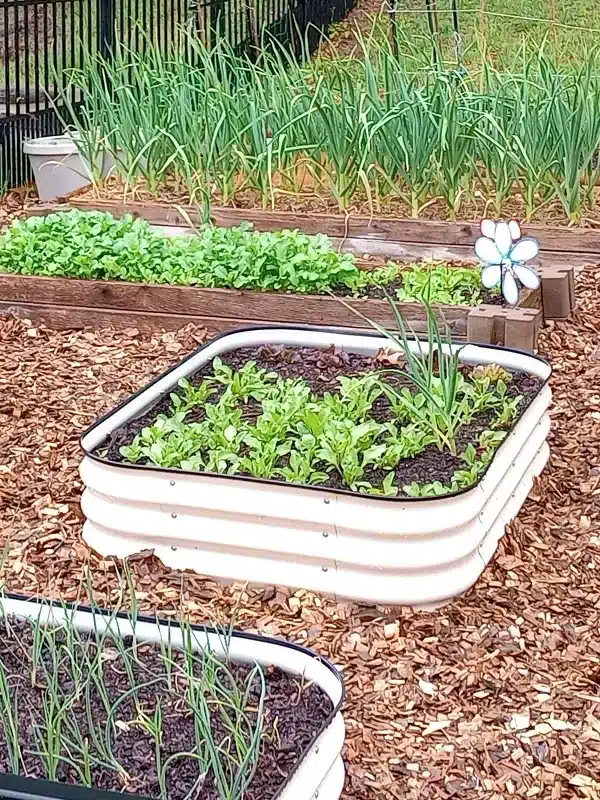
- The Spring Jumpstart: Greens like lettuce, spinach, Swiss chard, and broccoli rabe. While these can grow outside, starting them inside in late winter means you’ll be harvesting your first garden salads while your neighbors are just starting to dig their dirt.
Check the back of your seed packet. If it says 'Direct Sow,' leave it for the garden. If it says 'Start Indoors,' get your yogurt cups ready!

The Seed Starting System: Why and How
The “why” of seed starting is simple: Control. When you start from seed, you aren’t limited to the three types of tomatoes the big-box store decided to stock. You get to choose the flavors, textures, and heritage that fit your specific recipes.
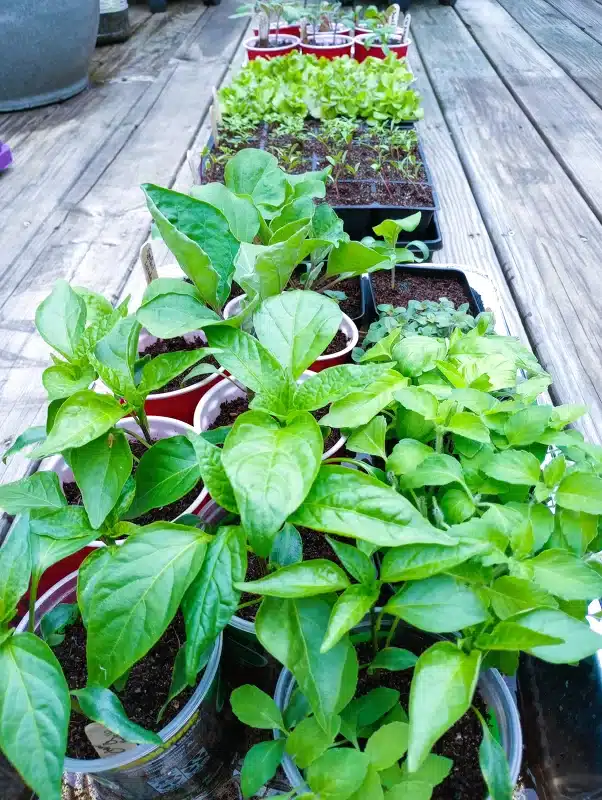
1. The Containers: Upcycling with Purpose
You don’t need to buy expensive seed trays. Yogurt cups, egg cartons, gallon water bottles, or even those plastic rotisserie chicken containers (which act like mini greenhouses) work perfectly.
- The Technical Detail: The most important factor isn’t the container itself, but drainage. Standing water is the enemy of a seedling; it leads to “damping off,” a fungal disease that causes the stem to wither at the soil line. Always poke more holes than you think you need.

2. The Medium: Why “Dirt” Isn’t Soil
Never use garden soil for seeds. It’s too heavy and can carry pathogens.
- The Technical Detail: Seed starting mix is usually a “soilless” blend of peat moss or coconut coir and perlite. This creates a high-porosity environment. Tiny “baby” roots don’t have much strength; they need a light, fluffy medium so they can expand without fighting compacted earth.
3. The Depth: The Rule of Two
The energy stored inside a seed is finite. If you plant it too deep, it will run out of energy before it reaches the light.
- The Technical Detail: Aim to plant the seed twice as deep as it is wide. For dust-like seeds (like lettuce), they actually need light to germinate, just press them into the surface of the soil rather than burying them.
4. Watering: The Gentle Approach
Think of seedlings like a delicate omelette; you don’t want to break the eggs while they are cooking.
- The Technical Detail: A heavy stream of water can dislodge the seed or compact the soil, “suffocating” the oxygen pockets the roots need. Using a spray bottle or “bottom watering” (placing your pots in a tray of water and letting them soak it up) keeps the environment moist without disturbing the delicate root-to-soil contact.

Pro Tips for Success
The Light Factor: Preventing “Leggy” Plants
If your plants look tall, thin, and pale, they are “leggy.” This happens because they are stretching desperately for a light source.
If your indoor greens get a little too tall before you can move them, don’t toss them! Those ‘leggy’ sprouts are essentially microgreens, perfect for topping a garden salad.
Expert Tip: If you use a windowsill, rotate your containers 180° every day. This prevents the plants from developing a permanent lean. If you use a shop light, keep it just 2–3 inches above the tops of the plants.
As they grow, move the light up.
The “Slight Breeze” Secret
Indoor plants live a pampered life, but the outdoors is windy.
Expert Tip: Once your seedlings have their first set of “true leaves,” set up a small desk fan nearby for 15 minutes a day. The gentle air movement creates microscopic tears in the plant’s stem, which the plant repairs by making the stem thicker and stronger.
It’s essentially “strength training” for your vegetables.

The Final Transplant
The Final Transition: Hardening Off
Think of your seedlings like a delicate sauce that needs to be tempered. They have lived a pampered life indoors with perfect temperatures and zero wind. If you move them straight to the garden, the sun will scorch their leaves and the wind will snap their stems.
The 7-Day Strategy: Start by placing your plants outside in a shaded, protected spot for just one hour. Each day, increase their “outdoor time” by an hour and gradually move them into more direct sunlight.
The “Toughening Up” Phase: By day five, they should be able to handle a full day of sun. By day seven, they stay out overnight. This slow introduction allows the plant to thicken its outer “skin” (the cuticle) and strengthen its cellular structure so it can thrive in the open air.

Prepping Soil For Planting
While your seeds are busy sprouting inside, you need to prepare their permanent home. You wouldn’t start a recipe with a dirty pan, and you shouldn’t transplant into “tired” soil.
Clear the Debris: Spend 10 minutes a week pulling early spring weeds and removing any leftover stalks from last year. You want a clean surface so you can see exactly where you’re planting.
Feed the Foundation: A week before transplanting, top-dress your soil with an inch of high-quality compost. You don’t need to till it in, nature will do that for you.
As it rains, the nutrients from the compost will “brew” down into the root zone, creating a nutrient-rich welcome mat for your new seedlings.
If you do not have compost, feed your seedling a balanced water-soluable organic fertilizer when transplanting.
The Temperature Test: Before you plant, put your hand on the soil. If it feels painfully cold to your touch, it’s too cold for your peppers and tomatoes.
Waiting for the soil to naturally warm up ensures the roots don’t go into “cold shock,” which can stall growth for weeks.

The best part about seed starting for beginners is that it removes the mystery from your food and puts the power back into your hands.
By shifting your mindset from “managing a garden” to “prepping a kitchen station,” you create a system that is as repeatable as your favorite family recipe.
Remember that every master gardener started with a single plastic cup and a sunny windowsill, just like my Nonno. So, take it slow, trust the process, and soon enough, those tiny green sprouts will be on your dinner table. I can’t wait to see what you grow!